Sendinblue and WPForms are two powerful tools that every marketer should consider having in their toolkit and it’s no secret that they are amazing marketing tools on their own!
However, imagine the power of combining these two veterans! I don’t have to say that magic will happen!
The possibilities are endless! By integrating Sendinblue and WPForms you can do a ton of great things from easily managing your subscribers to engaging with your subscribers.
Curious to know how exactly you can take advantage of this integration?
In this article, I will be walking you through step by step how you can connect WP Forms and Sendinblue!
So without further ado, let’s jump straight into it!
Related: The 13 Most Powerful WordPress Plugins
Table of Contents
In a rush?
In a rush? That’s no problem, here’s a brief overview of the steps that need to be taken in order to seamlessly integrate Sendinblue with WPForms
Step 1: Connect Your Sendinblue Account to WPForms.
Step 2: Add your Sendinblue to your forms
I know. I know. It’s actually really that simple. Keep reading to see exactly how each of these steps are performed.
A Short Background on WPForms
![]()
There are TONS of different WordPress form builders but my personal preference is WPForms.
WPForms is the best drag and drop form builder for WordPress on the market that helps beginners create forms, newsletter subscription forms, order forms, and basically any type of online form you need for your business.
Over 3 million professionals have used WPForms to build amazing forms and surveys and that number is consistently growing daily.
The best part? There is NO coding involved.
Thanks to the wide range of form templates you can build your forms in no time at all.
Once you are finished and happy with the end result of your form then you can easily embed it on your website or place it in the sidebar using widgets.
Now that you have a brief background on the best form builder in WordPress let’s cut to the chase and dive straight into how you can connect Sendinblue and WPForms.
Click HERE To Try WPForms Risk Free For 14-Days!
How to install the Sendinblue addon with WPForms
Once you have WPForms successfully installed on your WordPress website you can then easily and quickly install and activate the Sendinblue Addon.
Having trouble installing addons on WordPress? Click here to check out this article that walks you through the right way to install and activate an addon correctly.
To read a bit more about the Sendinblue Addon click here.
Step 1: Connect Your Sendinblue Account to WPForms.
Alright, so these first couple of steps are actually super straightforward. On your WordPress dashboard go to WPForms then go to Settings and select the Integrations tab.
Then look for Sendinblue and click it. Then click Add New Account and insert all of your account information. More specifically you’re going to have to enter your Sendinblue API Key and your Sendinblue Account Nickname. The Nickname can be totally random and will be used for your personal reference if you decide to connect multiple Sendinblue accounts in the future.
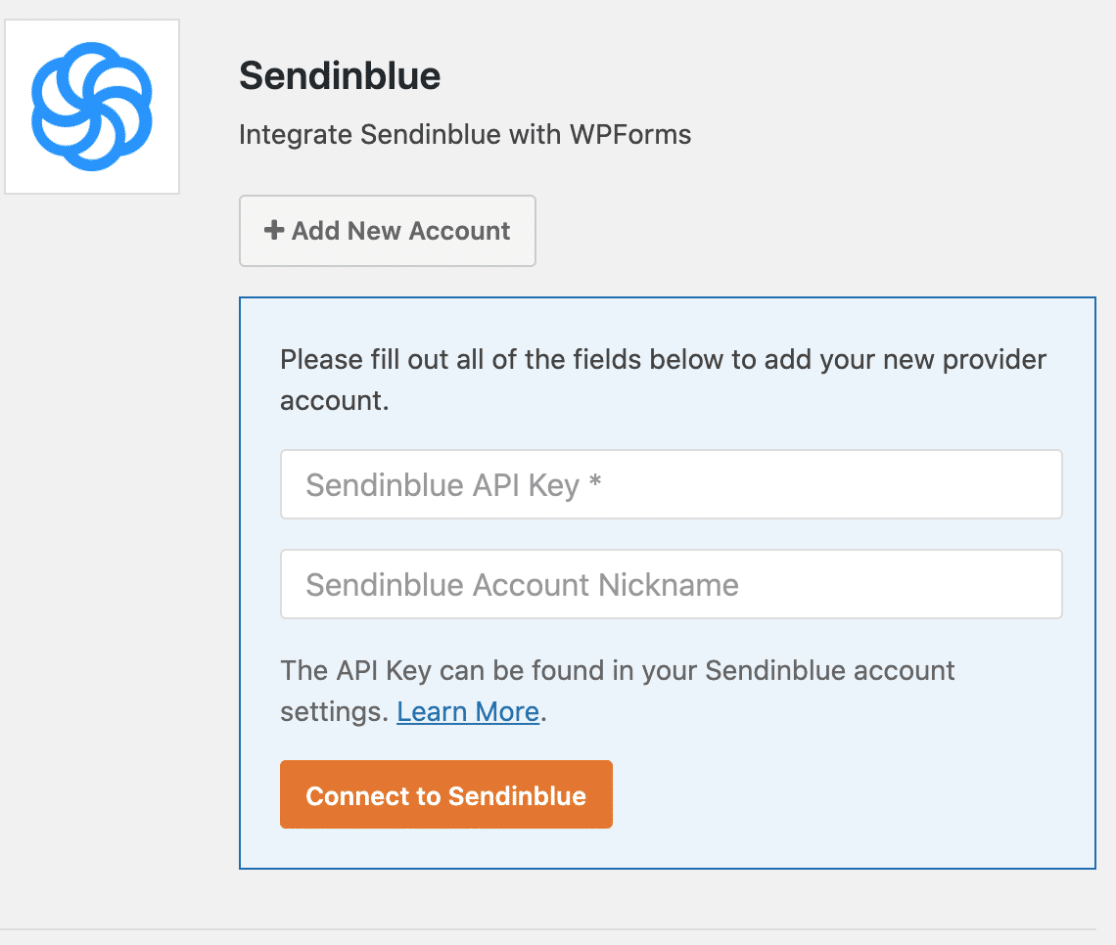
Don’t know your API Key or forgot where you wrote it? No problem. To find it all you have to do is login to your Sendinblue account click on the main menu and select SMTP & API. Boom.. your API key will be displayed right there for you to enter.
Next, copy and paste the API back into the “Sendinblue API Key” field.
Then all you have to do is click the orange “Connect to Sendinblue” button and WPForms will simply connect your site to your Sendinblue account.
It’s as simple as that.
Step 2: Add Sendinblue to your forms
Now we’re going to get to the action and add Sendinblue to a form!
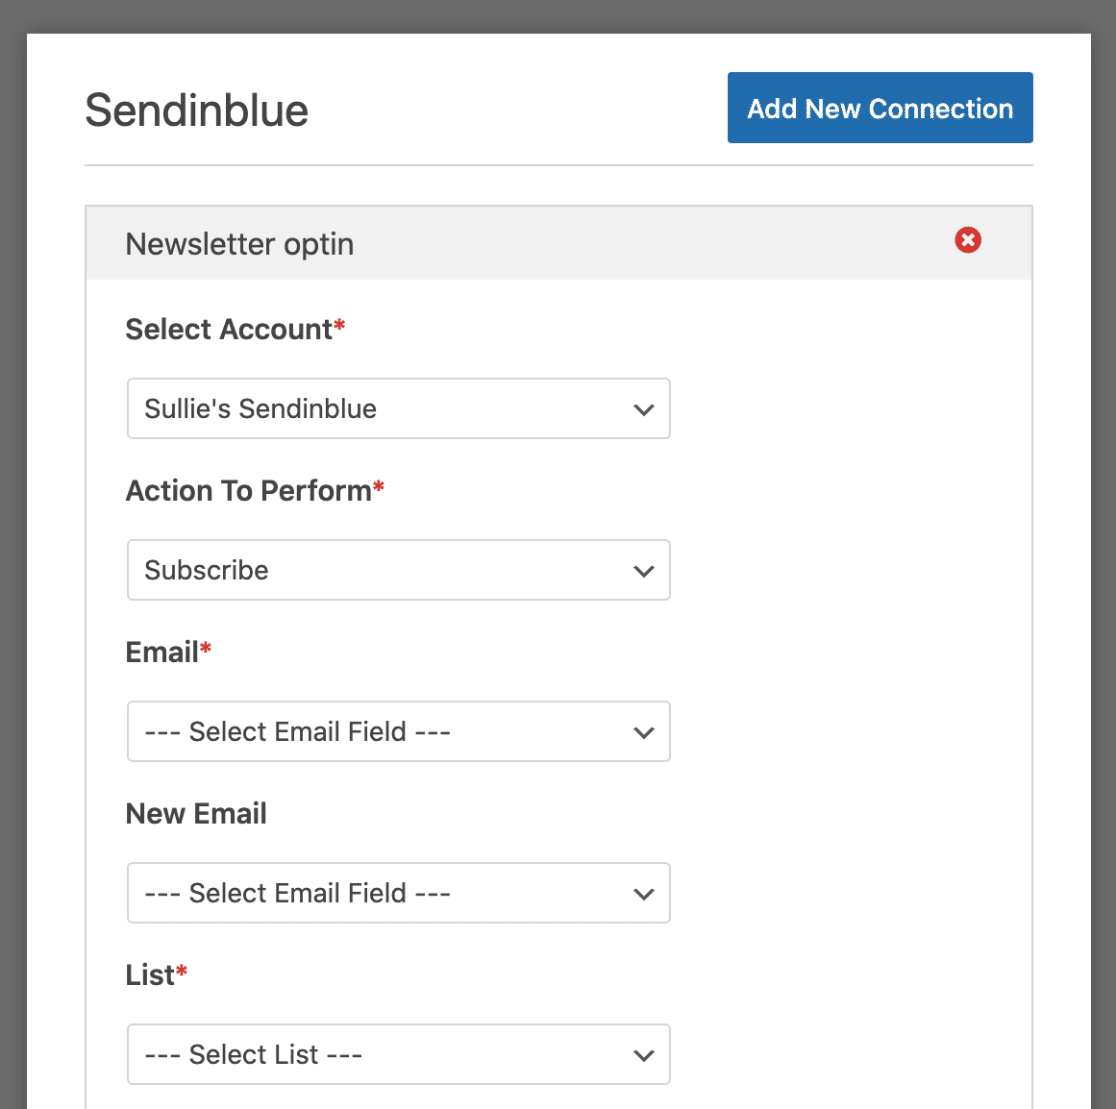
In order to do this, you can either edit one of your existing forms or create a new one. Then inside of the WPForms builder go to the Marketing tab and click the Sendinblue tab. Then click the Add New Connection button.
Once you click that button you can then add any nickname you would like to this connection.
Next, click Action To Perform and select the action that you would like users to perform when they submit your form. Once you have selected the action that you would like users to perform a list of different configurations will appear. These configurations include email, new email, and list.
Boom that’s it! You have now successfully integrated Sendinblue with WPForms.
Final Words
This integration allows you to take your email marketing campaigns to the next level by allowing you to create smart Sendinblue contact forms in WordPress in a few simple steps.
This integration allows you to subscribe users to lists, unsubscribe users, delete users, and track events. Just to name a few.
The best part? When the leads start to roll in through your forms built with WPForms, you can use Sendinblue’s professional email marketing tools to design, personalize, and automate content that converts your subscribers into paying customers. Cool right? RIGHT
That being said, if you are fans of both of these marketing tools then I would highly recommend that you try out this integration!